
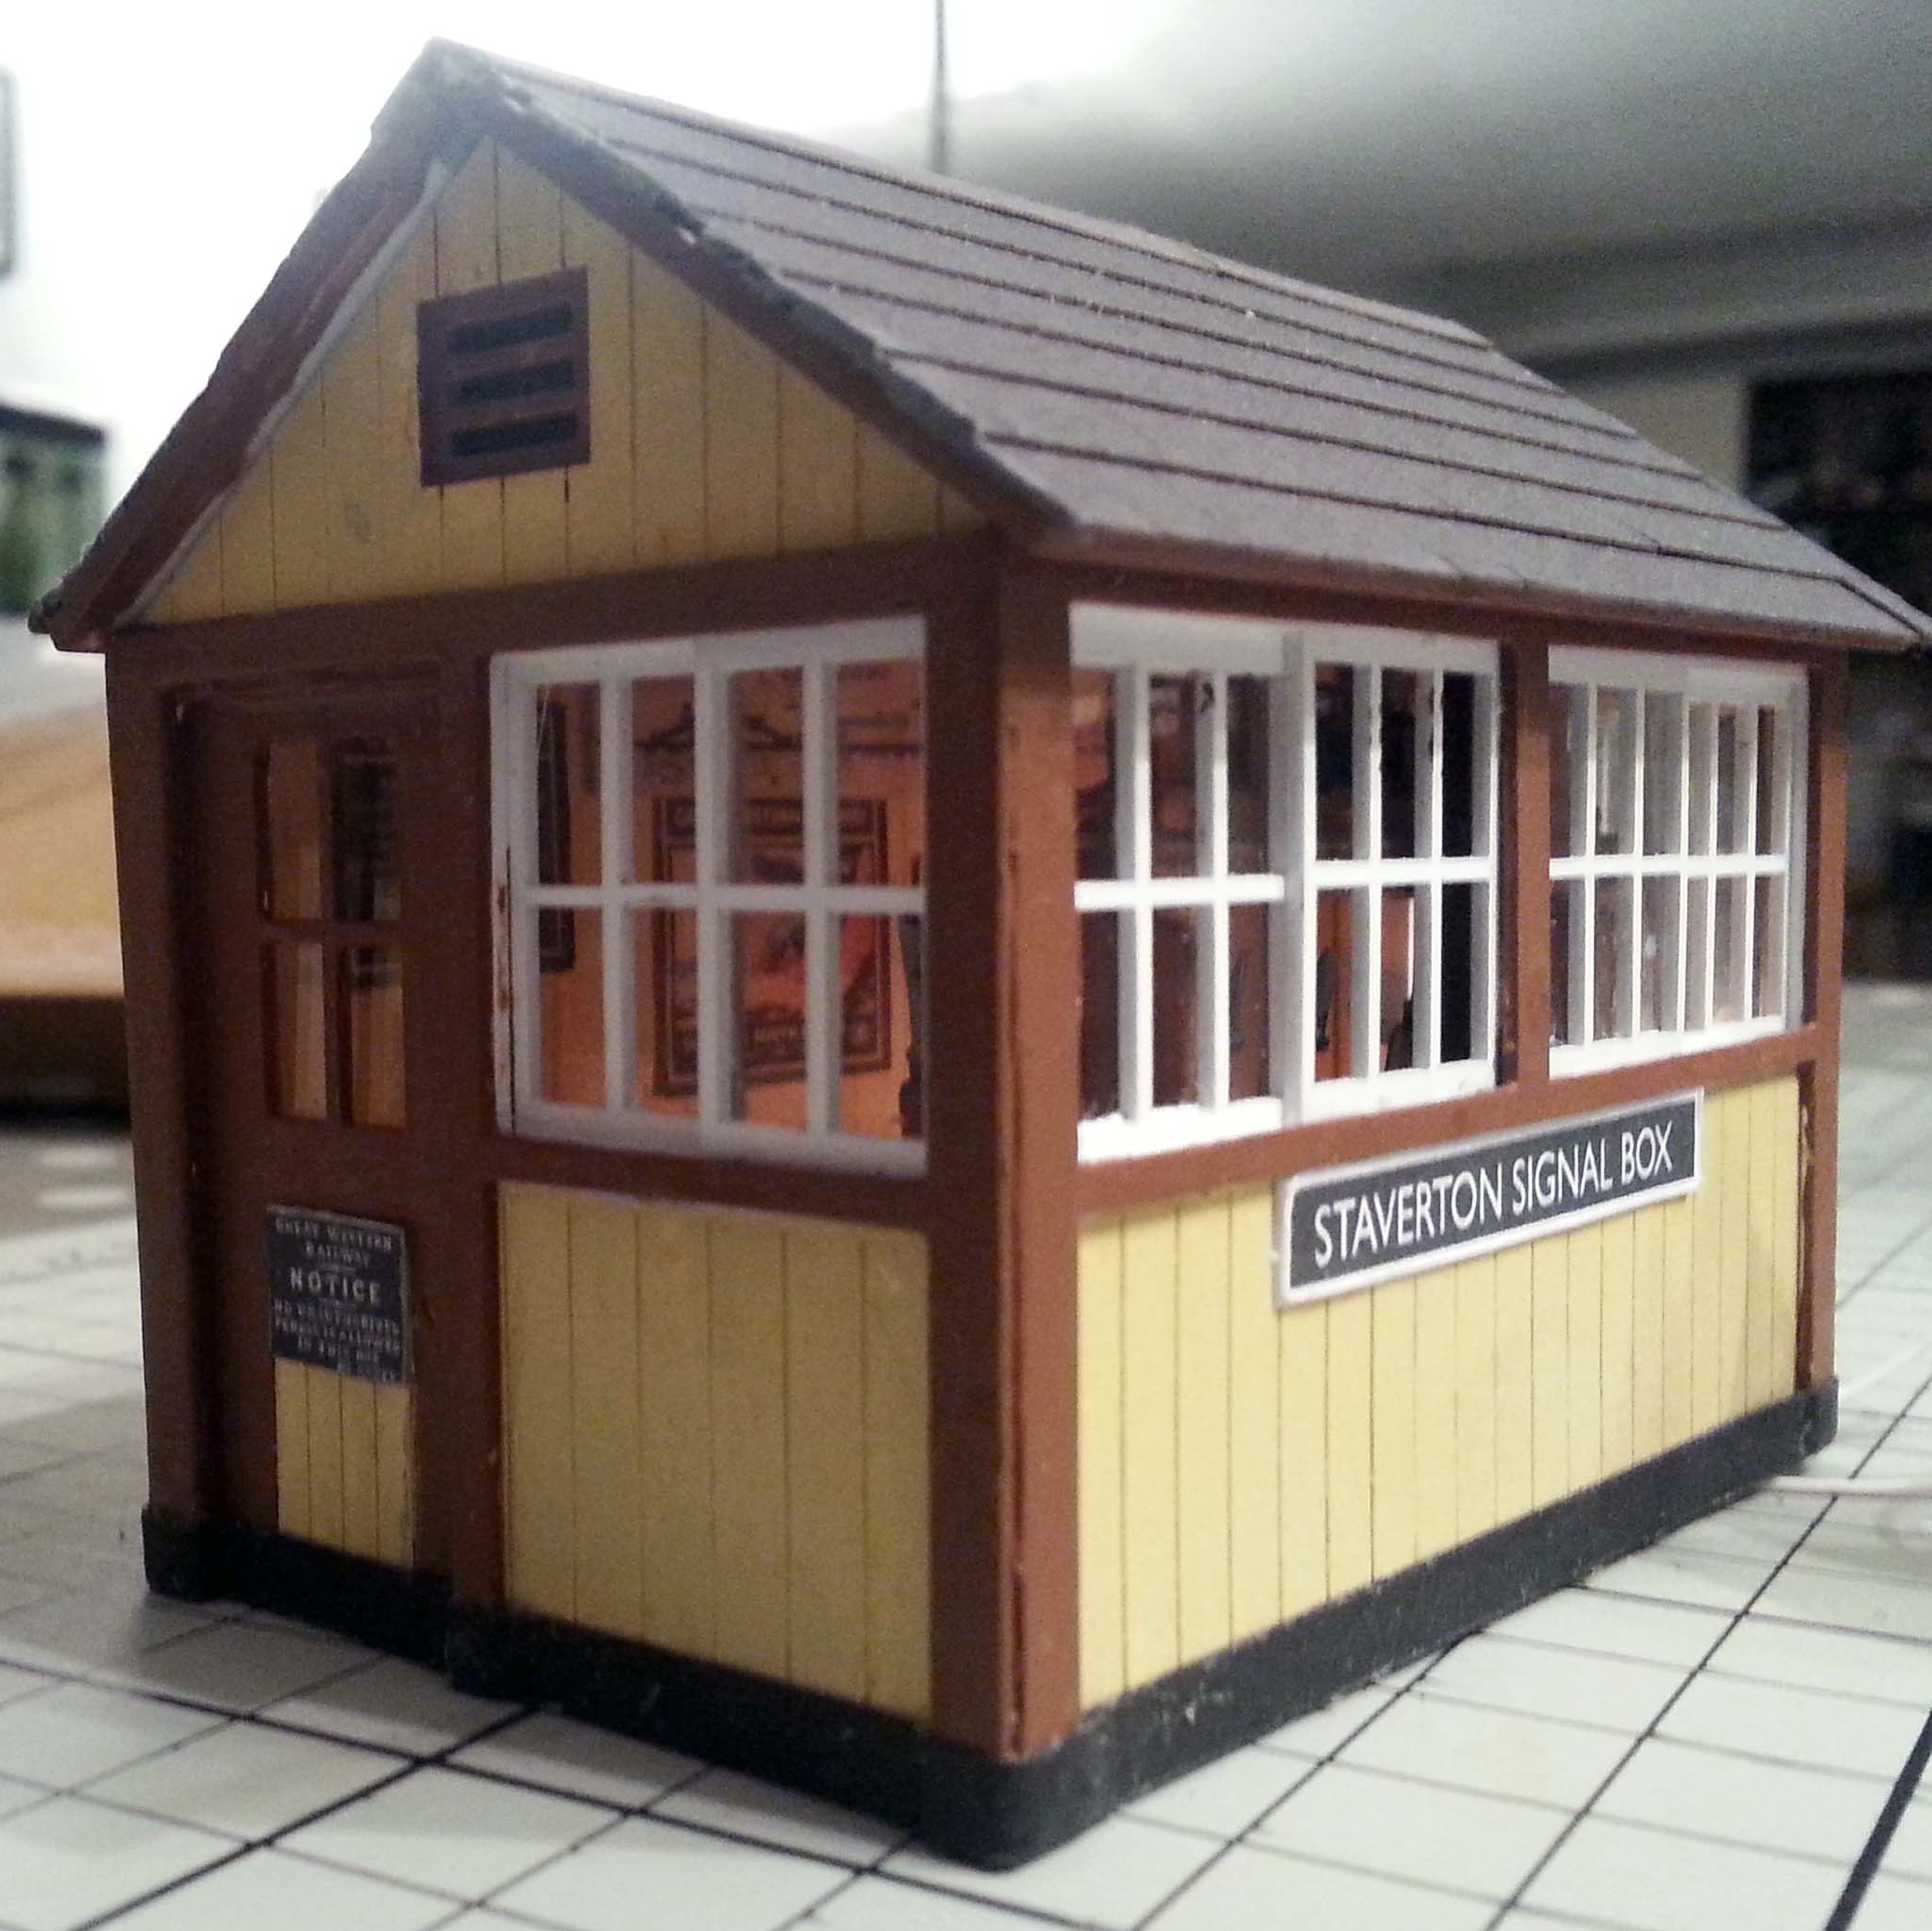
O Gauge Building Kits: Bringing Your Model Railway to Life
Buildings help turn a model railway from a collection of tracks and trains into a convincing miniature world. In O gauge, their larger size makes details such as brickwork, doors, signs and roof fittings especially visible. O gauge building kits offer a rewarding way to create stations, shops, warehouses, houses and other structures that suit your layout.
What Is O Gauge?
O gauge describes a model railway scale commonly used for larger trains. In the UK, O scale is generally 1:43.5, while some manufacturers use 1:48, particularly for American-outline models. These scales are close, but not identical, so it is worth checking a kit’s stated scale and intended railway setting before buying. A building designed for one standard may look noticeably different beside trains made to another.
Types of O Gauge Building Kits
Kits are available in a variety of materials and styles, from simple structures for beginners to detailed models for experienced builders. Common options include:
- Plastic kits: Often supplied as moulded parts, these are relatively straightforward to assemble and can be painted to suit a particular scene.
- Card kits: Printed or textured sheets are cut and folded to form buildings. They can be lightweight and economical, with some offering impressive surface detail.
- Laser-cut kits: Usually made from materials such as plywood or card, these feature accurately cut parts that fit together to create crisp architectural details.
- Resin kits: These can include finely moulded details and unusual subjects, though some may require extra preparation before painting and assembly.
- Ready-built structures: Not kits in the strict sense, but a useful option when you want a detailed building without undertaking the construction yourself.
Choosing the Right Kit
Start with the setting and period of your layout. A country station, an urban street and an industrial yard call for different kinds of buildings. Consider the railway region, architectural style and era you are modelling, as well as the space available. A large station may make a striking centrepiece, while a small signal box or lineside hut can add character without taking up much room.
Check the kit’s dimensions, scale, contents and skill level. Some kits include windows, doors and roof details, while others may need additional parts or finishing materials. If the building will sit close to the track, check that it leaves enough clearance for trains and accessories.
Building and Finishing Your Model
Before assembly, read the instructions and lay out the parts. A dry fit—temporarily placing the pieces together without glue—can help identify any adjustments needed. Use an adhesive suitable for the kit’s material, and follow the manufacturer’s guidance, particularly when working with solvent-based products.
Painting and weathering bring a structure to life. Subtle variations in brick colour, faded paint, soot around chimneys or grime near ground level can make a building feel more convincing. Signs, curtains, interior lighting and small details around the entrance add further interest. For a natural appearance, avoid making every surface perfectly uniform: real buildings show years of use, repair and changing weather.
Adding Buildings to Your Layout
Think about how each structure fits into the wider scene. Buildings look more convincing when they relate to the railway and its surroundings: a goods shed beside a siding, a station with a suitable platform, or a row of shops along a street. Ground cover, walls, roads and figures can help blend the model into the layout.
O gauge building kits provide plenty of scope for creativity, whether you are assembling a straightforward structure or adding fine details to a carefully planned scene. With the right kit and thoughtful finishing, a single building can become a memorable feature of your model railway.
6 Top Tips for Building O Gauge Kits
- Check the kit’s scale and footprint before buying.
- Dry-fit the parts before applying glue.
- Use a square to keep walls at right angles.
- Paint small parts before assembly where practical.
- Follow the instructions for the recommended adhesive.
- Add weathering lightly for a realistic finish.
Check the kit’s scale and footprint before buying.
Before buying an O gauge building kit, check both its stated scale and its footprint—the space it will occupy on your layout. O gauge models can be made to different scale standards, so a kit may not match your trains or nearby structures. Comparing the building’s dimensions with the available space also helps ensure it will fit comfortably without crowding tracks, platforms or scenery.
Dry-fit the parts before applying glue.
Before applying any glue, dry-fit the parts by bringing them together without adhesive. This lets you check that they align correctly, spot any pieces that need trimming and understand how the structure will assemble. It is much easier to make adjustments at this stage than after the parts have been glued in place.
Use a square to keep walls at right angles.
Use a small square while assembling your O gauge building kit to check that each wall meets the next at a right angle. Keeping the corners square helps the structure sit evenly, prevents gaps in the roof and floor, and makes it easier to fit doors, windows and other details accurately. Check the alignment as the adhesive sets, adjusting the walls gently before they become fixed in place.
Paint small parts before assembly where practical.
Paint small parts before assembly where practical, as components such as window frames, doors, railings and roof fittings can be much easier to reach while they are separate. Use a fine brush and let each piece dry fully before fitting it, taking care to keep glue points and joints free of paint so the parts bond properly. After assembly, touch up any exposed edges or small marks for a neat, consistent finish.
Follow the instructions for the recommended adhesive.
Always follow the kit manufacturer’s instructions when choosing and applying adhesive. Different materials may require different products, and using the wrong glue can damage parts, weaken joints or spoil painted surfaces. Apply only the recommended amount, work in a well-ventilated area where advised, and allow the adhesive to cure fully before handling or painting the building.
Add weathering lightly for a realistic finish.
Apply weathering lightly to give an O gauge building a more realistic, lived-in finish. A subtle wash can bring out brickwork and recesses, while a small amount of soot, dust or faded paint suggests years of use. Build up effects gradually and step back to check the result; restrained weathering usually looks more convincing than heavy, uniform grime.